接上一篇,参考chiphell 的imyz 的帖子
上面可以实现不用U盘安装系统,但还是需要本地有硬盘
对于主板有iscsi的如NUC9 直接挂载就很方便,但我们大多数电脑BIOS是没有这个功能的,但基本都有PXE
但PXE貌似也没有iscsi ,所以需要引导ipxe
由于我的dhcp服务器在openwrt 上,不想动网络结构,所有没有使用windows server 或linux的dhcp服务
由于不懂,我还先安装了dnsmasq
opkg remove dnsmasq && opkg install dnsmasq-full
但是我的会报错
No packages removed.
Package dnsmasq-full (2.88-2) installed in root is up to date.
Configuring ddnsgo.
ddns-go is start.
Collected errors:
 * pkg_run_script: package "ddnsgo" postinst script returned status 1.
 * opkg_configure: ddnsgo.postinst returned 1.
解决方法是运行下面的
echo -e "\ndefault_postinst() {\n\treturn 0\n}\ndefault_prerm() {\n\treturn 0\n}" >> /lib/functions.sh具体啥含义不懂,然后我还在左边菜单中找dnsmasq ,但没有找到
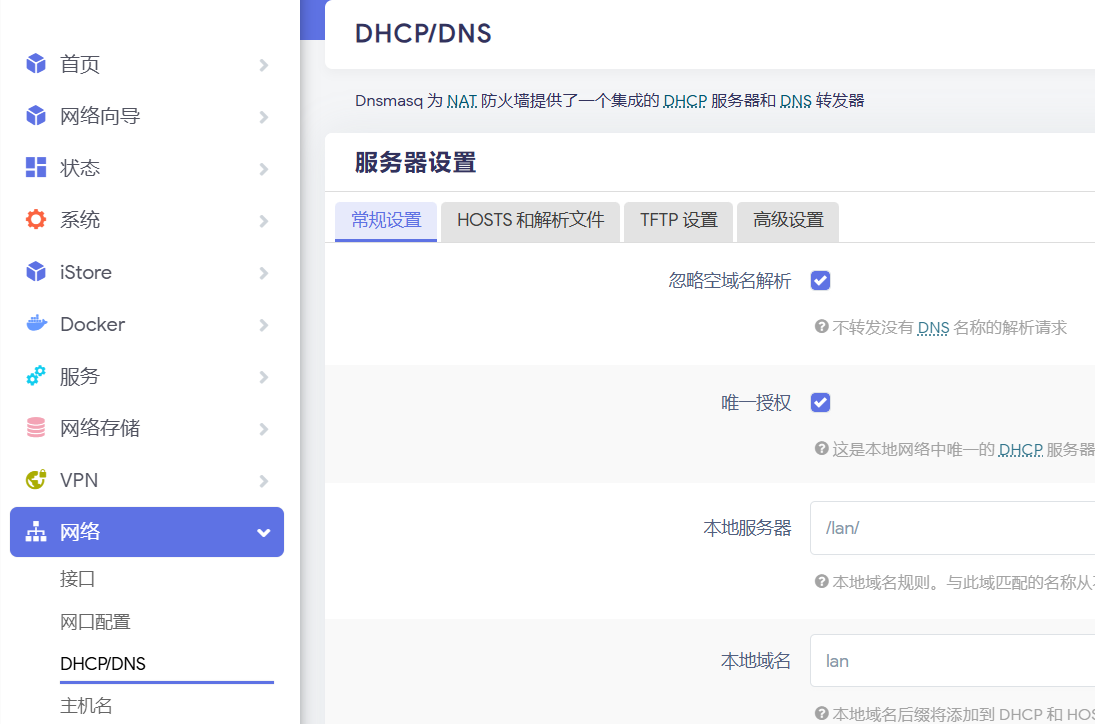
后来发现貌似openwrt 本身使用的dhcp就是dnsmasq

然后将大佬的Boot文件夹上传到一个目录,我的是在/www/tftp下
然后启用tftp
然后修改dnsmasq的配置文件,这里和Linux上的路径貌似不一样
openwrt在 /etc/dnsmasq.conf
大佬的是
port=0                # 禁 DNS
bogus-priv
interface=ens192
bind-interfaces
no-hosts
dhcp-range=10.1.1.100,10.1.1.200,255.255.255.0,12h
dhcp-option=option:router,10.1.1.1
dhcp-option=option:tftp-server,10.1.1.20
dhcp-match=set:ipxe,175 # iPXE sends a 175 option.
dhcp-option=encap:175, 189, 128      # SAN device 0x80
#dhcp-option=encap:175, 190, imyz     # iSCSI username
#dhcp-option=encap:175, 191, iscsi-target     # iSCSI password
dhcp-match=set:legacybios,option:client-arch,0        # Legacy BIOS
dhcp-match=set:uefix86,option:client-arch,6        # UEFI x86
dhcp-match=set:uefix64,option:client-arch,7        # UEFI x64
dhcp-boot=tag:!ipxe,tag:!legacybios,Boot\iPXE\UEFI\ipxe.efi
dhcp-boot=tag:!ipxe,tag:legacybios,Boot\iPXE\Legacy\undionly.kpxe
dhcp-boot=tag:ipxe,Boot\iPXE\menulinux.ipxe
enable-tftp
tftp-root=/var/ftpd
tftp-unique-root
tftp-no-fail
tftp-no-blocksize
dhcp-authoritative
我的只增加了
dhcp-match=set:ipxe,175 # iPXE sends a 175 option.
dhcp-option=encap:175, 189, 128      # SAN device 0x80
#dhcp-option=encap:175, 190, imyz     # iSCSI username
#dhcp-option=encap:175, 191, iscsi-target     # iSCSI password
dhcp-match=set:legacybios,option:client-arch,0        # Legacy BIOS
dhcp-match=set:uefix86,option:client-arch,6        # UEFI x86
dhcp-match=set:uefix64,option:client-arch,7        # UEFI x64
dhcp-boot=tag:!ipxe,tag:!legacybios,Boot\iPXE\UEFI\ipxe.efi
dhcp-boot=tag:!ipxe,tag:legacybios,Boot\iPXE\Legacy\undionly.kpxe
dhcp-boot=tag:ipxe,Boot\iPXE\menulinux.ipxe
然后重启dhcp服务
/etc/init.d/dnsmasq restart
然后修改刚才上传的boot文件夹中
/www/tftp/Boot/iPXE/sanhook.ipxe
我这里没用密码,需要清空不然会报错
最终如下
#!ipxe

set san-server 192.168.8.233

cpuid --ext 29 && set arch x64 || set arch x86
set keep-san 1
set username
set password
set initiator-iqn iqn.vm.ipxe

set san-drive 128   # 128 = 0x80
set san-target${san-drive} iqn.2004-04.com.qnap:ts-453dmini:iscsi.target-3.58b4b7
set root-path${san-drive} iscsi:${san-server}::::${san-target${san-drive}}
sanhook -d ${san-drive} ${root-path${san-drive}}

inc san-drive
set san-target${san-drive} iqn.2004-04.com.qnap:ts-453dmini:iscsi.target-0.58b4b7
set root-path${san-drive} iscsi:${san-server}::::${san-target${san-drive}}
sanhook -d ${san-drive} ${root-path${san-drive}}
同时之前生成的winpe文件名需要改一下放在这
/www/tftp/Boot/WinPE/Images/WinPE-iSCSI-zh-CN-x64.wim
然后就可以用hyper-v 新建虚拟机测试,需要注意的是要关闭安全启动
另外威联通的LUN 区块大小不能改,不然会识别不到
另外威联通删除LUN 需要先禁用LUN 再编辑LUN映射
再编辑
然后从当前目标取消
然后选择第一个
安装后会选中第二个
然后可以参照上一篇的挂载win11 共享目录 运行setup.exe 安装,但我安装后启动会失败
进入winpw后可以用下面命令检查iscsi是否成功
另外加载winpe貌似挺慢,实际上ipex支持http 此种方式比较快