一直想通过公网的阿里云服务器打通和家里的网络,因为在外面不一定有ipv6, 以前知道有ZeroTier和TailScale ,但官方服务器在国外,所以尝试私有化部署,这次使用的是headscale 没想到还折腾了很久。
官方不推荐用docker方式安装,那么按照官方的ubuntu步骤首先下载dep安装包
HEADSCALE_VERSION="" # See above URL for latest version, e.g. "X.Y.Z" (NOTE: do not add the "v" prefix!)
HEADSCALE_ARCH="" # Your system architecture, e.g. "amd64"
wget --output-document=headscale.deb \
 "https://github.com/juanfont/headscale/releases/download/v${HEADSCALE_VERSION}/headscale_${HEADSCALE_VERSION}_linux_${HEADSCALE_ARCH}.deb"
我这里用迅雷下载再上传到阿里云上面的
然后安装
sudo apt install ./headscale.deb
如果在root目录下,则会抛出警告,我这里在/home下新建了个headscale目录,把deb放进去了
然后新建个配置文件,把官方的配置文件粘贴进去
sudo nano /etc/headscale/config.yaml
我这里只把第一句改了
server_url: https://hs.kecq.com
然后启动服务
sudo systemctl enable --now headscale
这里有个坑,因为以前有尝试安装过,注意删除 /lib/systemd/system/headscale.service 不然有可能按这个配置启动了,路径什么的有可能报错
查看运行状态
sudo systemctl status headscale
查看headscale日志
journalctl -u headscale -f -o cat
好像是之前创建过再创建一次就访问不了/admin 了 ?感觉不应该
后面发现 nginx配置

这个 /admin 下的 /root/headscale/web 不存在,不知道哪去了,删掉这个/admin 节点后重启headscale 后访问是空白
那就用docker再部署个
docker run -d --restart always \
  -p 8000:80  \
  goodieshq/headscale-admin:latest
再修改nginx配置
        location /admin {
           #root /root/headscale/web;
           proxy_pass http://127.0.0.1:8000;
           proxy_set_header Host $host;
           proxy_set_header X-Real-IP $remote_addr;
           proxy_set_header X-Forwarded-For  $proxy_add_x_forwarded_for;
           proxy_set_header X-Forwarded-Proto $scheme;
        }
然后创建apikey
headscale apikeys create --expiration 9999d
用创建后的apikey在/admin 页面输入就可以管理后台
2026.3.3
另外一点注意的是最好一开始就确定好局域网ip段,之前默认的是100.64.0.0 ,好像和阿里云服务器冲突?也就是说阿里云服务器自身也作为tailscale客户端加入貌似会冲突,导致如备份服务失败什么的。
另外发现kecq.com 主页访问变慢了,后台管理也报超时,查询日志发现是连接本地数据库超时,将以前的数据库连接字符串由kecq.com改为localhost 重启网站后貌似会变好。
如果之前安装过headscale ,需要删除db文件,不然更改局域网ip不容易生效,config文件可以不删。
客户端
windows客户端cmd运行后一直没反应....
后面阴差阳错问千问,发现可能是nginx 配置问题,下面是我的网站配置的,可能缺少了协议
        location / {
           proxy_pass http://localhost:8080;
           proxy_set_header   X-Forwarded-For  $proxy_add_x_forwarded_for;
           proxy_set_header request_uri $request_uri;
           index  index.html index.htm;
        }
正确的配置
       location / {
           proxy_pass http://127.0.0.1:8080;
           #proxy_http_version 1.1;
           proxy_set_header Upgrade $http_upgrade;
           proxy_set_header Connection "upgrade";

           proxy_set_header Host $host;
           proxy_set_header X-Real-IP $remote_addr;
           proxy_set_header X-Forwarded-For  $proxy_add_x_forwarded_for;
           proxy_set_header X-Forwarded-Proto $scheme;
           index  index.html index.htm;

        }
另外安卓客户端一直没找到入口,实际上是要先登录官方账号,然后再添加
windows 安装官方客户端后运行,好像要先启动客户端再运行?还是启动windows服务后在运行
tailscale up --reset --advertise-routes=192.168.31.0/24 --login-server=https://hs.kecq.com --accept-dns --accept-routes
如果之前运行过则需要加 --reset
成功后会有个链接提示,访问此链接会一个命令,在阿里云服务器上运行这个命令就可以批准
headscale nodes register --key ACJU7WFpxxxxxxxxxxxxxxxxxx --user fyj
好像也可以通过PreAuth Key加入,这样貌似不用服务器批准
先创建PreAuth Key,可以在管理界面中创建key再关联上用户,也可以命令,然后这个key只能用一次
headscale preauthkeys create -u 1 -e 24h
客户端使用
tailscale up --login-server https://hs.kecq.com --authkey hskey-auth-jMaJEVcLyVWY-xxxxxxxxxxxxxxxxxxxxxxxxxxxxxxxx
然后windows客户端勾选Run unattended 开机自动启动,不然需要远程桌面进入到桌面才行
然后手机再连接上,我以为这样就能通过这台windows访问所在局域网了,后面了解到还需要服务端配置
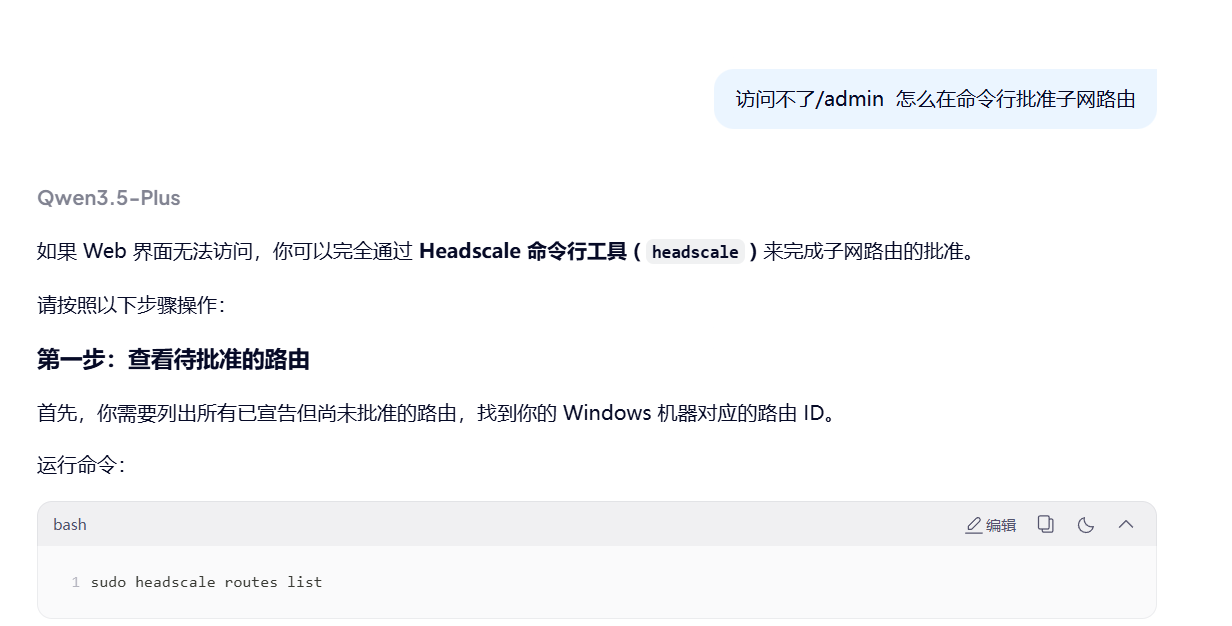
实际上没有 headscale routes 了
正确的是
headscale nodes approve-routes --identifier 1 --routes "192.168.31.0/24"
其中1 为机器ID 可以下面方式查看
headscale machines list
Linux客户端加入
curl -fsSL https://tailscale.com/install.sh | sh
tailscale up --login-server https://hs.kecq.com --accept-routes=true --accept-dns=false
--advertise-routes: 向中央服务器报告当前客户端处于哪个内网网段下, 便于中央服务器让同内网设备直接内网直连(可选的)或者将其他设备指定流量路由到当前内网(可选)
--accept-routes: 是否接受中央服务器下发的用于路由到其他客户端内网的路由规则(可选)
--accept-dns: 是否使用中央服务器下发的 DNS 相关配置(可选, 推荐关闭)
我这里没加 --advertise-routes=192.168.11.0/24
linux 客户端的服务是 tailscaled 多了个d ,如tailscale up 后重启服务 systemctl restart tailscaled
搭建Derp服务器
headscale 自带一个
derp:
  server:
    # If enabled, runs the embedded DERP server and merges it into the rest of the DERP config
    # The Headscale server_url defined above MUST be using https, DERP requires TLS to be in place
    enabled: false
但我这里不知设为true为何没有成功,还是保持原状false不启用,改为docker 搭建
首先在/home下新建了文件夹 derp/certs 然后将之前的证书放进来并改为域名.crt 和域名.key
然后运行
docker run --restart always \
  -p 50443:443 -p 3478:3478/udp \
  -e DERP_CERT_MODE=manual \
  -v /home/derp/certs:/app/certs \
  -e DERP_ADDR=:443 \
  -e DERP_DOMAIN=derp.kecq.com \
  -e DERP_VERIFY_CLIENTS=false \
  fredliang/derper
然后访问
然后去/etc/headscale中增加derp.yaml
regions:
  901:
    regionid: 901
    regioncode: cd
    regionname: Aliyun ChengDu
    nodes:
      - name: 1
        regionid: 901
        hostname: derp.kecq.com
        ipv4: 47.108.255.170
        stunport: 3478
        stunonly: false
        derpport: 50443
貌似 regioncode 不能为数字
然后注释掉headscale配置文件中derp的urls 增加 paths
  urls:
    #- https://controlplane.tailscale.com/derpmap/default

  # Locally available DERP map files encoded in YAML
  #
  # This option is mostly interesting for people hosting
  # their own DERP servers:
  # https://tailscale.com/kb/1118/custom-derp-servers/
  #
  # paths:
  #   - /etc/headscale/derp-example.yaml
  paths:
    - /etc/headscale/derp.yaml
然后重启服务
systemctl restart headscale
然后去客户端重新连接运行
tailscale netcheck
说明成功
阿里云上运行下面命令查看实时日志
journalctl -u headscale -f --no-pager
查看实时流量
nload eth0 -m
发现没有安装
apt install nload
但是我还是没有p2p成功...
服务器配置
randomize_client_port: true #打开以增强打洞能力
貌似也无效
官网下增加derp
"derpMap": {
		// OmitDefaultRegions 用来忽略官方的中继节点,一般自建后就看不上官方小水管了
		"OmitDefaultRegions": true,
		"Regions": {
			// 这里的 901 从 900 开始随便取数字
			"901": {
				// RegionID 和上面的相等
				"RegionID": 901,
				// RegionCode 自己取个易于自己名字
				"RegionCode": "aliyun-chengdudd",
				"Nodes": [
					{
						// Name 保持 1不动
						"Name": "1",
						// 这个也和 RegionID 一样
						"RegionID": 901,
						// 域名
						//"HostName": "derp.kecq.com",
						"IPv4":     "47.108.255.170",
						"stunport": 3478,
						// 端口号
						"DERPPort":         50443,
						"InsecureForTests": true,
					},
				],
			},
		},
	},